
Hello and welcome! So, you've caught wind of that Layer 2 blockchain, Optimism, and thought, "Why not give it a whirl?" Good call – you're in for quite the experience.
Before you dive into the vibrant world of OP Mainnet (that's Optimism's official network name for the uninitiated), there are a few initial steps to tackle. But fret not! I've guided friends and family down this path before, and I'm here to walk you through it, one step at a time.
Alright, here's our game plan:
- Set up a wallet
- Transfer some funds to OP Mainnet
- Engage in some token swapping via Velodrome Finance
Step 1: Install Metamask
First up, setting up that wallet.
Good news: since OP Mainnet is EVM-compatible, you can use most Ethereum wallets. A crowd favorite is Metamask, so that's our pick for today. But hey, if you're feeling adventurous or already have a preferred choice, other top contenders include Coinbase Wallet, Zerion, Rainbow wallet, Rabby wallet. Choose what works for you!
⚠️ Metamask is categorized as a software or "hot" wallet. Super handy for on-the-go transactions, but if you're holding a sizeable amount, you might want an extra layer of protection. This is where hardware wallets, like Ledger or Trezor, come into play. These are physical devices that store your private keys offline, adding a robust security layer. And the best part? You can pair them with Metamask for a seamless experience. Safety first!
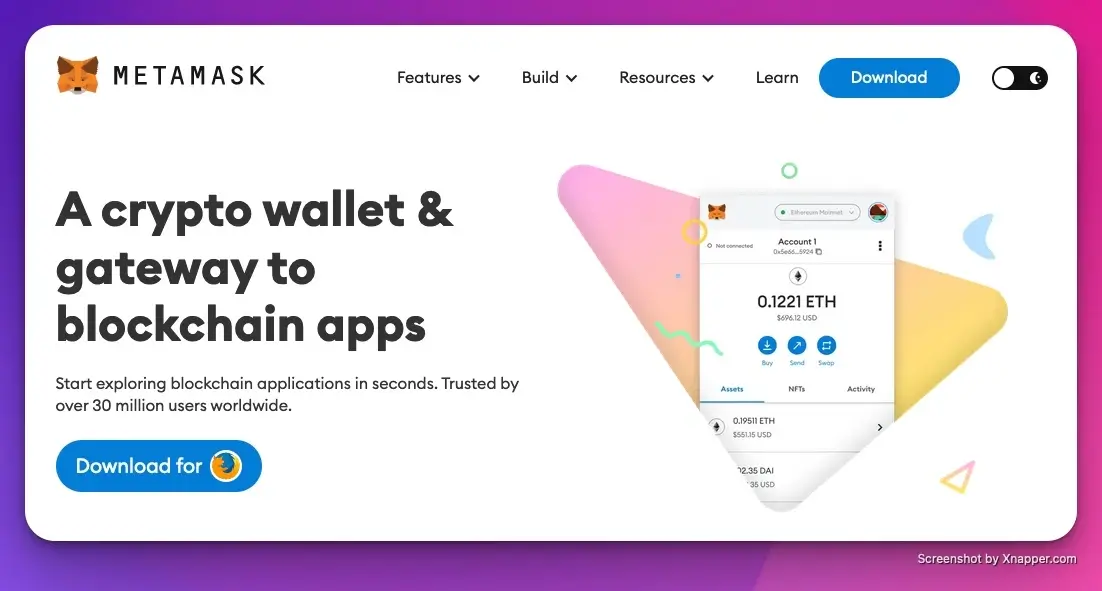
Setting up Metamask is straightforward and can be done on both your computer and mobile. I'll guide you through the desktop setup. Metamask works like a charm with browsers like Chrome, Brave, Opera, Edge, and Firefox.
- Installation: Navigate to Metamask’s official download page. Choose your device's operating system to begin the installation.
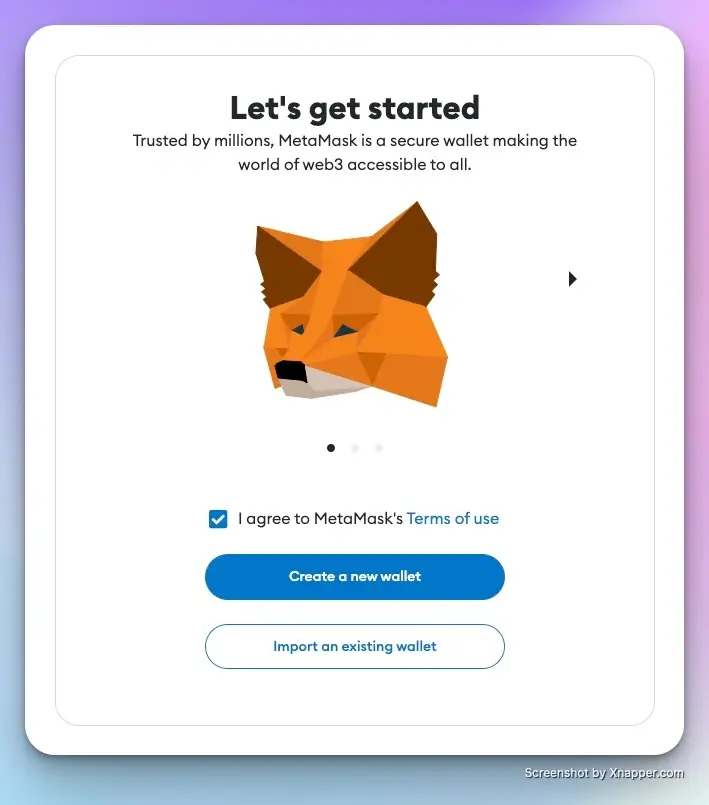
- Safety First: Choose a robust password. Remember, Metamask won't be able to recover it if you forget, so it's crucial to remember it.
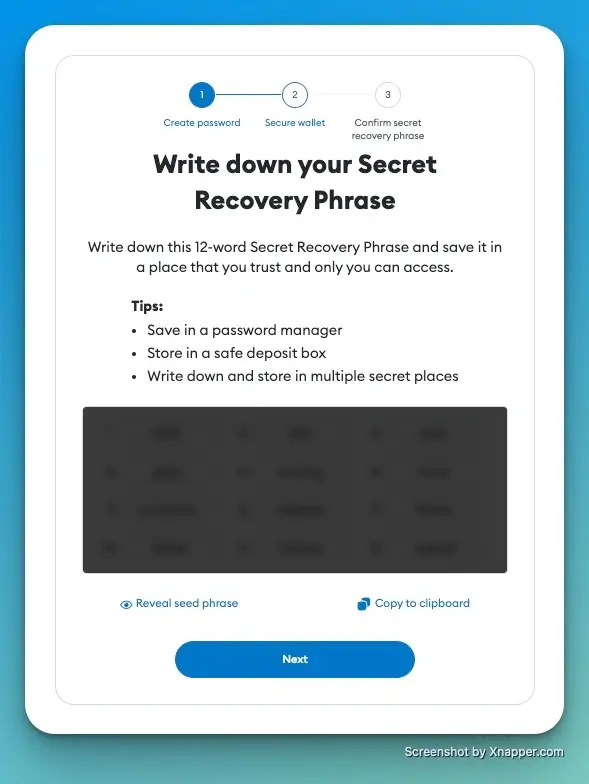
- Secure Your Assets: You'll receive a secret recovery phrase. Note it down securely; it's your ticket to wallet recovery if things go south.

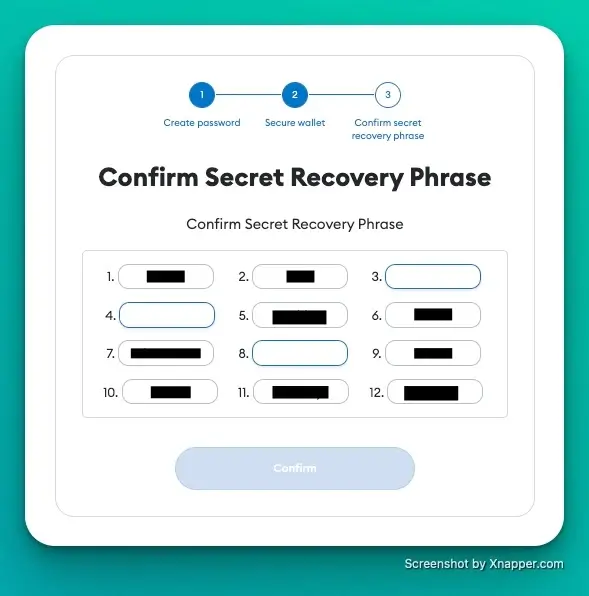
All Set! You've successfully set up your Metamask wallet. Ready to dive into the world of Optimism?
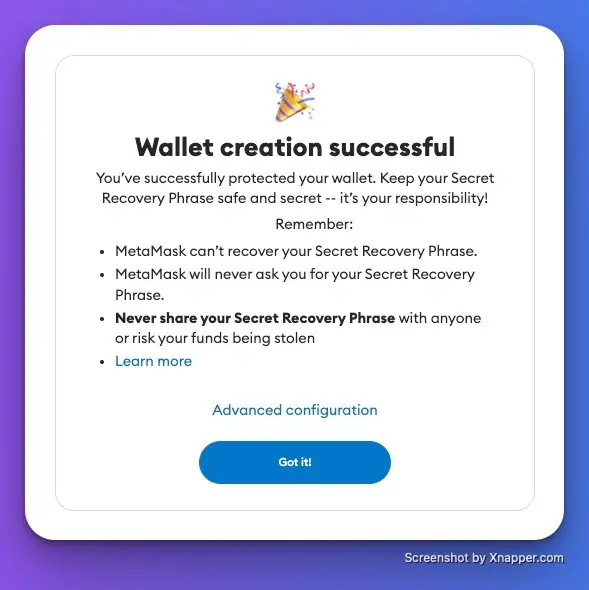
⚠️ Keeping your secret recovery phrase secure is paramount. Think of it as the master key to your funds. Store it offline, like on a piece of paper, to prevent digital thefts. If anyone accesses this phrase, they can control your wallet. Also, if you lose your password or change devices, this phrase is the only way to recover your funds. Losing it means you could lose everything in your wallet. So, handle it with utmost care.
Step 2: Bridge Some Funds
If you're looking to top up your wallet on OP Mainnet, I've got you covered. I've detailed three primary ways in an article to make this process as smooth as possible for you:
- Direct transfers from a Centralized Exchange
- Utilizing a fiat-on-ramping solution
- Bridging funds from another network
For this demonstration, I'll utilize the first method, primarily because it's quite user-friendly. While I'll walk you through using Coinbase, remember you can replicate the process on any centralized exchange that's compatible with OP Mainnet.
Let's break it down, step-by-step:
- Get Started: If you're not on Coinbase yet, sign up or grab the app. For existing users, just log in.
- Buying ETH:
- Website: Navigate to "Buy & Sell."
- App: Click the (+) and select "Buy" on your home screen.
- Choosing Your Crypto: Pick Ethereum (ETH) from the list.
- Decide the Amount: Punch in how much you want to spend, and the platform will show you its ETH equivalent.
- Final Check: Tap "Preview buy" to see the nitty-gritty of your purchase. Looks good? Hit "Buy now."
- Initiating Transfer: Once you have your ETH, click "Send & Receive" to start the process.

- Detailing the Transfer: Key in the amount you're sending and your Optimism wallet address.

- Selecting Destination Network: From the dropdown menu, make sure you pick "Optimism" and not just Ethereum.
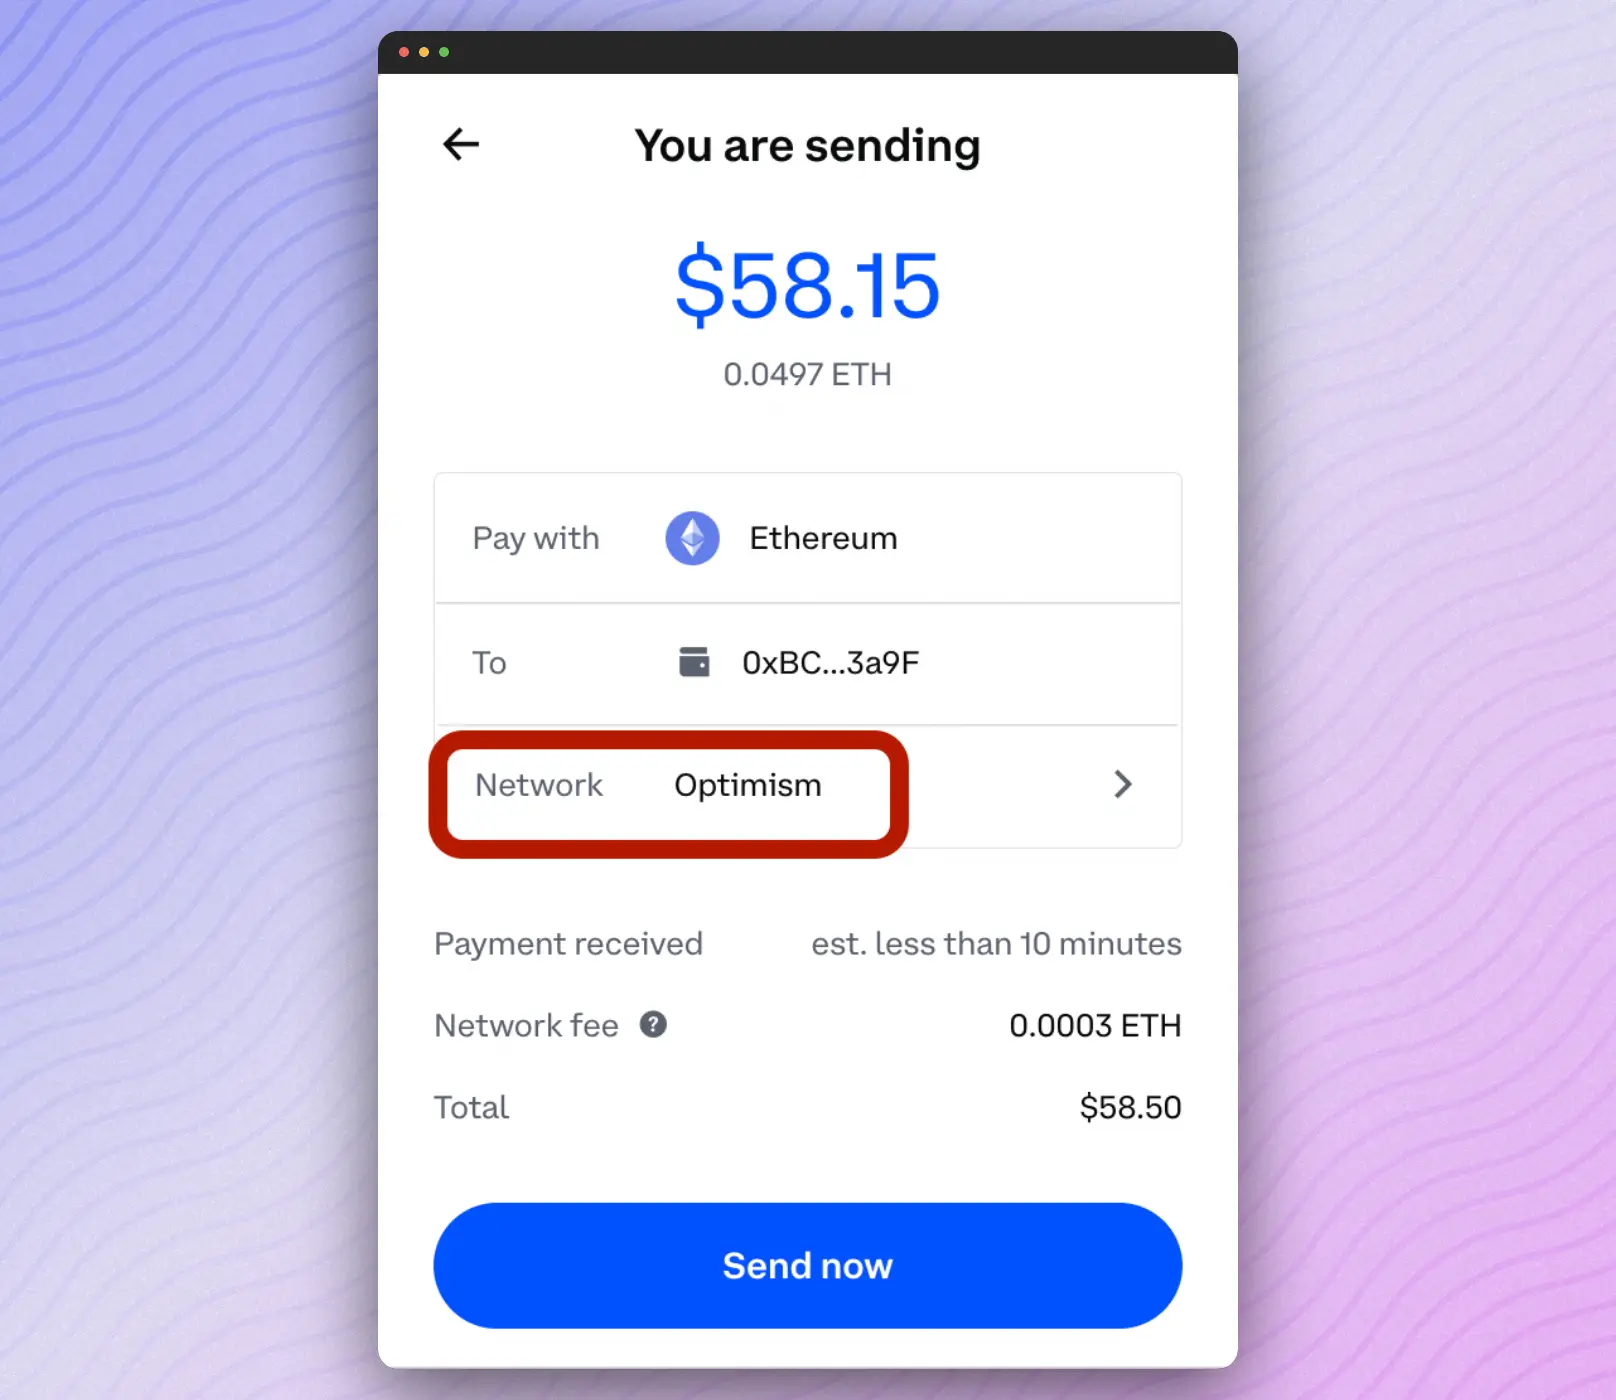
- Seal the Deal: With everything set, click "Send now".
Pat yourself on the back! 🥳 Your ETH should soon be chilling in your Metamask on OP Mainnet.
Step 3: Trading ETH for OP
Alright, so you've got some ETH in your wallet, and you're itching to trade it for another token. Let's talk options!
You could, of course, use Metamask’s built-in swap feature. However, with an approximately 0.875% fee plus a little extra for network costs, I'd argue there are more cost-efficient routes.
Familiar faces in the DEX (Decentralized Exchange) world like Uniswap or aggregators such as 1inch might come to mind. Both solid choices.
However, let's venture a bit off the beaten path. I want to introduce you to Velodrome Finance, where we'll swap our ETH for OP.
Why Velodrome, you ask? It ingeniously combines the best aspects of Curve, Convex, and Uniswap. The result? You get to swap tokens with barely noticeable slippage and at a fee rate that's hard to beat. Let's dive in!
Alright, let's get down to the action on Velodrome Finance. Follow these steps:
- Navigate to Velodrome Finance and hit the 'Connect' button.

- As I'm using Metamask, I'll select the browser wallet option for connection. Do the same if you're on Metamask; otherwise, choose the appropriate wallet option.

- Let Velodrome handle the network juggle. You might be on the Ethereum network by default with Metamask, but we're aiming for OP Mainnet here. So, either tweak the settings manually through the Metamask extension or take the easy route and let Velodrome do the switch.

- A signature request will pop up. Go ahead and sign it to proceed.
- Now, it's trading time! Choose your 'from' token (ETH for us) and your 'to' token (OP in this scenario). Decide on the amount you'd like to swap.

- Click on the “Swap ETH for OP” button. Whenever you see a prompt, confirm by signing the transaction.
Give yourself a pat on the back. You should see some fresh OP in your wallet. Well done! 🍾
Wrapping up
All done! I know it might feel like a lot to take in initially, but trust me, the more you dive into it, the clearer and easier it becomes. The web3 user experience still has its quirks, but it's rapidly evolving for the better.
Curious about where to head next? Check out our curated list of 8 essential apps on Optimism to continue your adventure.
Keep the Optimism alive!

Article by
Maxime ServaisI'm a Software Developer and Tech Writer over at Ethereum Ecosystem. Basically, I make sure everything we cook up is top-notch and awesome!